


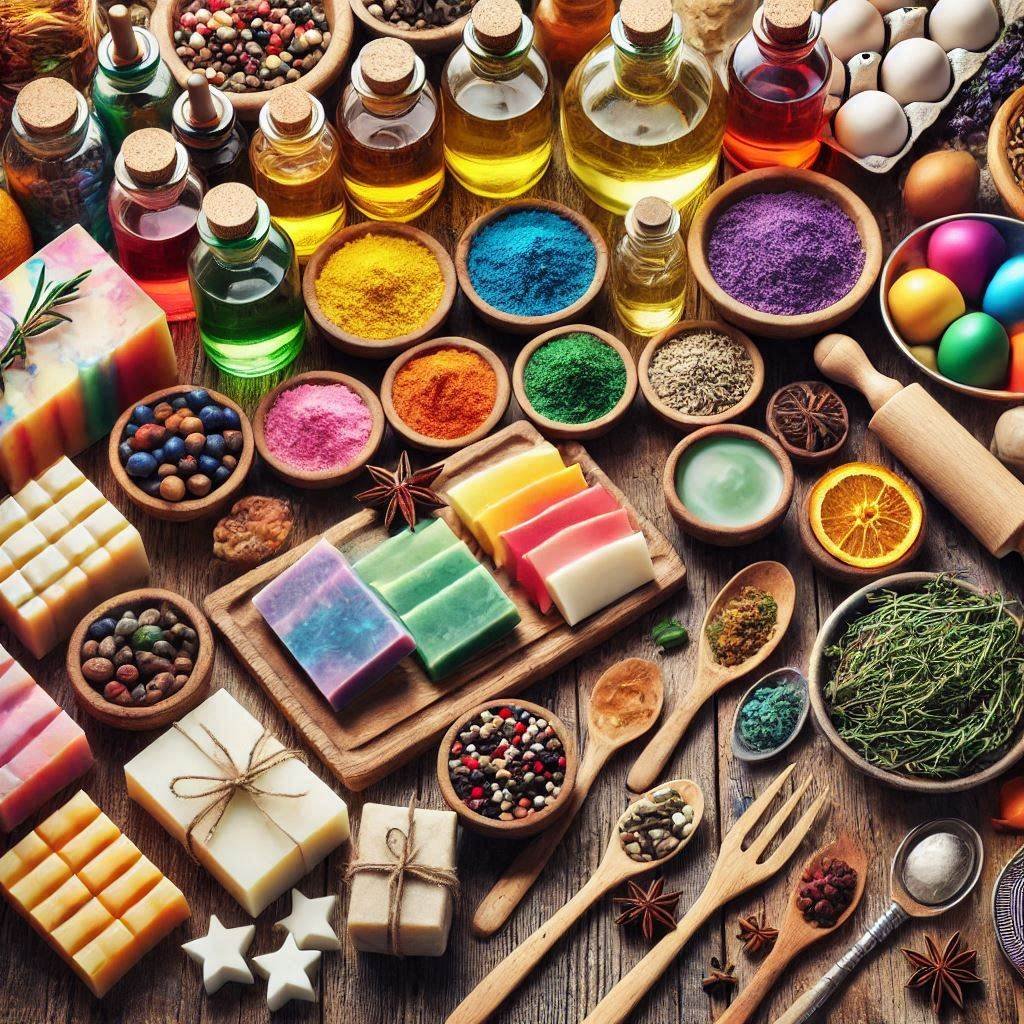
Though this web site is all about cold-processed soap, other soapmaking methods have great advantages as well hot-process soapmaking, melt and pour designing, and hand-milling soap. Though cold-processing is my regular go-to method, I know a number of people who use these other methods regularly and love them! Even if you are a die-hard cold-process soapmaker like me, knowing how to hot-process and hand-mill is important because they will be your primary methods for fixing botched batches and using soap scraps.
Hot-Process Soapmaking
Hot-processing starts out the same as cold-processing. The difference occurs when you bring your soap to trace. Instead of pouring it into your mold, you lightly heat it for a few hours.
1. Weigh your ingredients, melt the oils together, and safely combine the lye
and water.
2. After the oils and lye water cool to at least 150°F, pour them both into a slow cooker. If they are hotter, they may boil over when you begin to heat them.
3. Blend using a stick blender until trace. Be careful to watch for splashes if the slow cooker is shallow.
4. Cover with a lid and do not open. Let the soap sit in the slow cooker on the lowest setting, checking every 15 minutes without lifting the lid. If your slow cooker heats the soap too quickly, it could overflow! It will make a terrible mess, so check it often.
5. After an hour or two (depending on the heat level of your slow cooker), you should start to see the soap turn into a clear gel with the consistency of mashed potatoes, starting on the outer edges. There is no need to stir yet. Keep the lid on to keep moisture from escaping.
6. Once the entire batch has transformed, add your essential oils and any other natural additives and stir.
7. Scoop the soap into a mold. Bang the mold on the floor to knock out any air bubbles. Allow to cool.
8. When the soap is hard enough to remove from the mold (usually after 24 hours), remove and cut, allowing it to cure for another few days until hard enough to use. It’s ready without any further curing!
9. Store in a well-ventilated area.
The main benefit to hot-processing is obvious: You don’t have to wait 4 to 6 weeks for the soap to cure! It often looks chunkier and doesn’t have the smooth texture that cold-processed soap has, but it has a lot of really cool character. If you don’t like the chunky top, you can always shave it with a potato peeler.
Hand-Milling
Hand-milling is a cross between cold-processing and hot-processing. Start by making cold-process soap as usual with no colorant or essential oils. Then, instead of letting it cure after removing it from the mold, grate it into a double boiler over gently simmering water, while wearing gloves (since it will still contain lye). Stir until the soap is melted. Now add your essential oils and any other natural additives and pour into the mold again. After it is hard enough, remove it from the mold and allow it to cure for a week.
Why make cold-process soap and then hand-mill it? This will be the method you will use if your cold-processed soap goes wrong. It is also called re-batching. If you had too much lye or your soap didn’t set up properly, you can save it by hand-milling. You may need to add a little more scent toward the end, depending on how your original scent fades. It is also a great way to use soap scraps. Save them until you have enough to make a batch of hand-milled soap. Let your kids be creative and make something new with old soap scraps.
Melt and Pour
This method simply refers to taking soap that has already been made by someone else and melting it, much like with the hot-process fashion, and making it your own by adding wonderful scents, colors, designs, and shapes. You can even have a melt and pour party! It is the perfect soap-related activity for getting your kids involved because the lye has already been processed.
Another benefit is that, as with hot-processed soap, it is ready to use right away. As a fun project and gift, it’s the perfect way to let your creative side shine. There are many books dedicated to melt and pour projects, so I won’t go into great detail, but I did want to give you a quick how-to outline as well as a fun activity to get you started.
Pingback: MAKING NATURAL SOAP AT HOME - PIPPOO NATURAL