


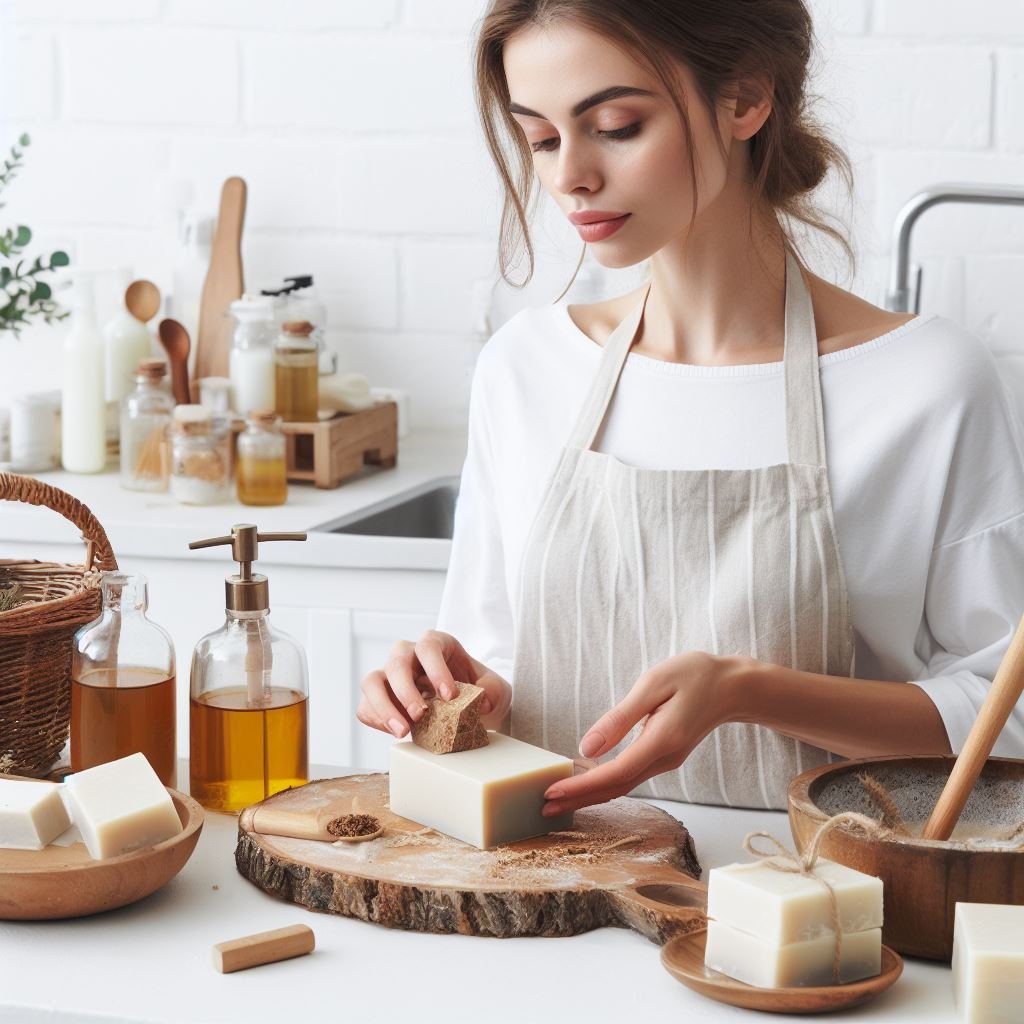
MAKING NATURAL SOAP AT HOME IN 10 STEPS
Making natural soap at home through the cold process technique entails creating soap without applying heat directly to the soap batter. Instead, heat is utilized to prepare the oils in advance. Fats and butters like cocoa butter, tallow, and coconut oil are gently melted to achieve a uniform, well-incorporated mixture. These prepared oils can then be used at room temperature or, ideally, a little warmer. It’s ideal to have both the oils and lye water at approximately 110°F(44°C) for optimal saponification and achieving the right trace.
After the oils and lye water have been properly emulsified, you can employ various stirring tools, but we highly recommend a stick blender for ease and efficiency. Once the soap mixture reaches the desired trace, it’s ready to be poured into molds to complete the process.
The cold-process method is widely favored because it allows for the creation of silky-smooth soap with a perfect finish. Furthermore, it’s easier to incorporate artistic elements such as swirls, layers, and intricate designs, thanks to the thinner and smoother batter it produces. Additionally, this method enables the preparation of a thicker batter that can effectively suspend herbs and other additives. Cold-process soap also retains the scents of natural essential oils exceptionally well, as these oils are added at trace and at lower temperatures than other soap-making methods.
To be resorted to hot-process or hand-milling techniques only in the event of rescuing a failed soap batch. However, it’s essential to note that each method has its advantages and drawbacks. For the luxurious, silky-smooth texture that’s characteristic of cold-process soap, we prefer to stick to this technique. All the soap recipes featured in this blog are crafted using the cold-process method.
If you’re looking to dive into the world of the cold process soap making method provides an excellent foundation for creating beautiful, aromatic, and high-quality soaps.
In the below section, we’ll delve deeper into the step-by-step process of crafting soap through the cold-process technique, so you can embark on your soapmaking journey with confidence. Stay tuned for more insights and tips on creating the perfect bar of soap.
MAKING NATURAL SOAP AT HOME IN 10 STEPS
STEP 1
Gather Ingredients and Supplies
Obviously, you don’t want to get started and then realize that you don’t have an important ingredient, so the first thing you need to do is gather all the ingredients that the recipe calls for. Depending on the recipe, this can include preparing color infusions.
Next, gather your scale, bowls, spoon, pot, zip-top plastic bag, thermometer, mold, parchment, stick blender, spatula, blanket, and safety equipment for working with lye.
For more detailed information about equipments and ingredients:
STEP 2
Weigh All Ingredients
The easiest way to make sure something doesn’t go wrong is to be precise, so I recommend using a kitchen scale for all your ingredients.
First, weigh each of the oils, fats, and/or butters that you are using in your recipe by weight (not liquid volume) and combine them all in a large stainless steel pot. Heat them over medium-low heat until they are all melted and well combined.

Next, weigh the lye crystals in a zip-top plastic bag and seal the top. The bag is there simply to remind you not to pour the water into the lye, but rather to pour the lye into the water.
Finally, weigh the water in a glass or plastic bowl and set aside.
STEP 3
Create Lye Water
Wearing protective eye gear, gloves, and a mask, go to a well-ventilated location outside. Unless you’re wearing a very sturdy mask, hold your breath as you pour the lye crystals into the water, as the mixture will give off fumes for about a minute. Stir until dissolved, usually only 10 to 15 seconds. Then you can bring the lye water inside to cool (when you combine the lye and water, the temperature will shoot up to 170°F(76C°) to 200°F(95°C).

STEP 4
Equalize Temperatures
Let the oil mixture and the lye water cool to 100°F(38°C )to 110°F(44°C) unless otherwise noted. Recommended temperatures will vary slightly in some recipes, since temperature affects how fast soap comes to trace. Cooler temperatures are used with ingredients that cause higher temperatures, like milk and alcohol.
Sometimes you may need to put the oils and/or lye water in a cold- or hot-water bath to ensure that they come to the right temperature at the same time. Simply fill your kitchen sink with a few inches of cold or hot water and put the pot of oils or the bowl of lye water in the water.

STEP 5
Combine Oils and Lye Water and Bring to Trace
When the temperatures are equalized for the oils and lye water, carefully pour the lye water into your large pot of oils. This is when splashes can happen, so be careful.

Fully immerse a stick blender (or hand mixer) in the pot to avoid adding extra bubbles into your batter. Mix until trace; you will know it’s ready when the soap begins to thicken so that it leaves a light trace or trail over the batch when spooned over the top. You don’t have to mix nonstop-mix for a few minutes, then let it sit for a few minutes. Keep checking because some soaps thicken very quickly.
Click for more detailed information about base carrier oils for natural soap making:

ALL ABOUT TRACE FOR SOAP MAKING AT HOME
It’s important to note that not all traces are the same. Here are different levels that will be required for the recipes throughout the articles.
LIGHT TRACE:
The oil and lye water are emulsified, but the soap is still a thin liquid. You can tell when your mixture has reached a light trace when a spoonful is dribbled over the top and it leaves a trail that is not raised from the surface at all. A bright light will help you see it.
MEDIUM TRACE:
The consistency is thickening, but it is thinner than pudding. When soap is spooned over the top of the batter, it leaves an easy-to-see trail that is slightly raised above the batter.
THICK TRACE:
The consistency is thick like pudding.
SEIZE:
The soap has passed the thick trace stage and is beginning to set up in the pot, becoming almost impossible to scoop.

LIGHT TRACE

MEDIUM TRACE

THICK TRACE
STEP 6
Add Additives
Most colorants, scents, and other additives are added to the soap mixture at trace. Powdered colorants are usually added by transferring 1 cup of soap to a separate bowl and using a whisk to incorporate the powder until there are no lumps. The colorant is either added back to the larger batch and blended or reserved to drizzle over the top of the batch to create swirls. Some additives can accelerate trace. Follow the instructions in each recipe regarding blending or whisking additives.

Click for more detailed information about additives, colorants and essential oils:
STEP 7
Pour into Mold and Design
Line your mold with parchment paper. Pour the soap batter into your. If you are adding color swirls or layers, this is when you do so.

STEP 8
Insulate
After pouring the soap into the mold, cover and insulate by wrapping the mold in a blanket for 24 hours. Insulating keeps heat from escaping too quickly, helping the entire batch pass through the gel phase, which increases the vibrancy of natural colorants. Some soaps need to be insulated lightly with only a towel, or not at all, thanks to ingredients like milk, honey, or wine that can overheat the batch of soap if insulated heavily.
STEP 9
Clean Up
It’s important to keep your gloves on while you’re washing all pots, bowls, and utensils used for soapmaking. You’ll need a lot of soap, because any residual oils will not be saponified, so they will contain lye water. Wash everything immediately after pouring the soap, otherwise it will harden and be difficult to remove. Don’t just place everything in your dishwasher without rinsing or you may clog the dishwasher’s drain. We wash items dedicated to soapmaking by hand. Any bowls that we also use for other purposes I hand-wash and then run through the dishwasher.
STEP 10
Cut and Cure
After 24 hours, check the soap to see if it is hard enough to remove from the mold. If your fingers can mark the surface, allow it to sit for another 12 to 24 hours. Remove the soap from the mold and cut if necessary. You can cut 12 bars(4-ounces/120gr) from each batch. Use a straight kitchen knife, miter box, or pastry cutter (straight or crinkle edge). Some molds also come with sectional dividers so that you don’t have to cut the soap.

Place the bars on a shelf or rack to dry and cure. They can be stacked if necessary, but be sure to turn them once a week. Cure for 4 to 6 weeks. Yes, that’s a big variance. Soap usually finishes saponifying after the first 3 to 4 weeks. Any time after that is important for water evaporation and hardening so that it will last longer. After curing, place in a cool, dry location with ventilation, such as a plastic shoebox with the lid left slightly ajar.
Sources / References
Natural Things Shop uses only high-quality sources to support the facts in our articles. Read our editorial process to learn more about how we fact-check our content and keep it accurate, trustworthy and reliable.
All the images we use on our site are produced with Dall-e 3 artificial intelligence technology. There are no legal problems regarding copyright.
Kelly Cable
- The Natural Soapmaking Book For Beginners
- DIY Soaps: Using All-Natural Herbs, Spices & Essential Oils
HERE ARE OUR BASIC AND SPECIAL NATURAL SOAP RECIPES:
BASIC NATURAL SOAPS RECIPES:
SPECIALTY SOAPS RECIPES:
HAVE YOU ENCOUNTERED SOME PROBLEMS WHILE MAKING SOAP?
Read our explanation and solution page for the problems you encounter.
TROUBLESHOOTING TIPSALL THE NECESSARY ARTICLES TO MAKE NATURAL SOAP AT HOME:
It is very important that you read the following articles to learn about the ingredients, natural ingredients, essential oils and basic base oils needed to making soap at home.